xtls with Mullvad VPN
Connectivity Bridges Windows Linux Android Mobile Installation macOS Desktop V2Ray Multihop Censorship circumvention
Sist oppdatert:
This guide will show you how to connect using xtls and Mullvad VPN.
What this guide covers
Using Windows
Requirements
Download and install:
Download:
- Extract the v2rayN-With-Core.zip file.
- Start v2rayN.exe .
- If you do not have Microsoft .NET 6.0 Desktop runtime installed, it will prompt you to download it, do so, and then install it.
- When starting v2rayN it will start with Chinese language, to change this click on the three dots to the right,
then select the option that shows zh-Hans and change that to en after that right-click on the v2rayN icon in the systray and select the last option, this will exit the app.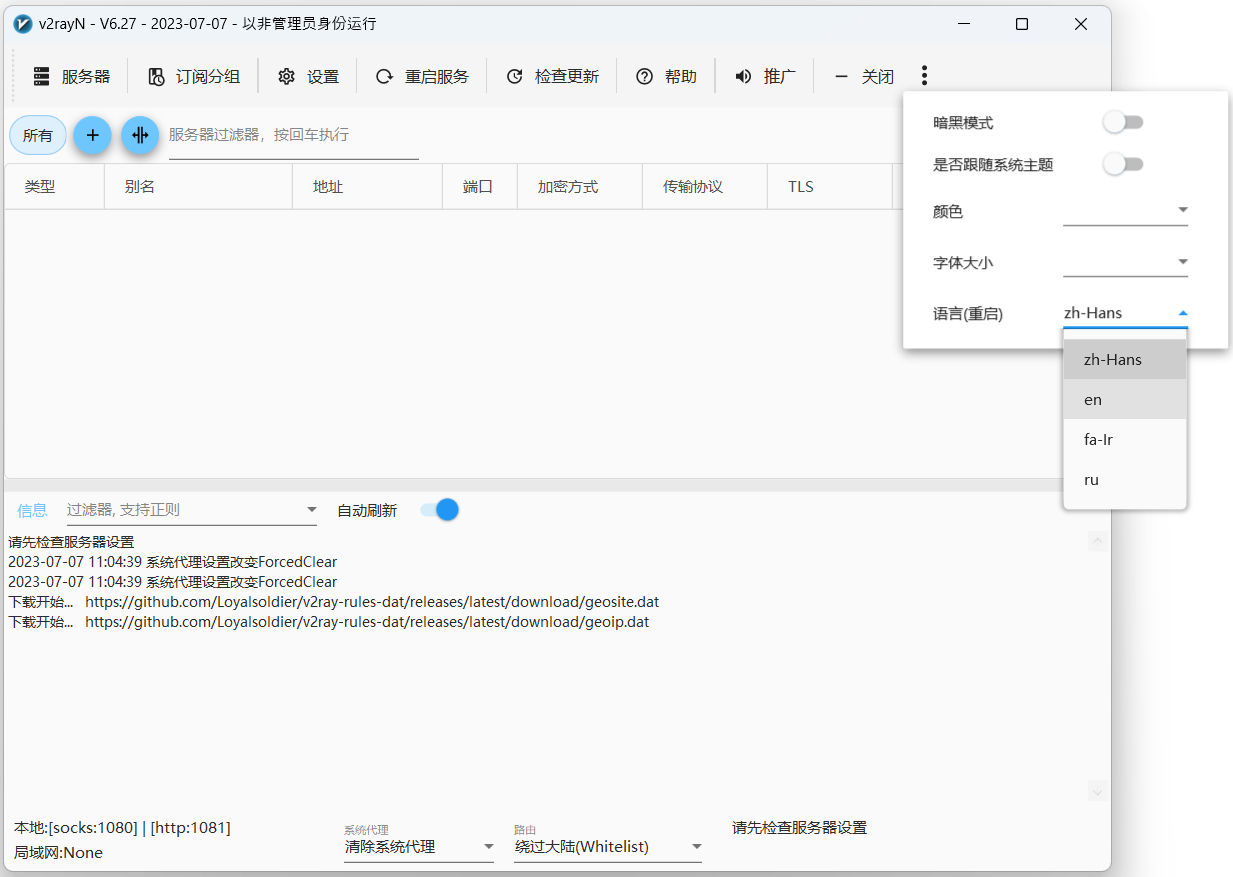
- Start the v2rayN app again.
- Copy the url encoded config (VLESS link) into your clipboard, it will start with vless://
- In the v2rayN app, press CTRL-V this will add the server.
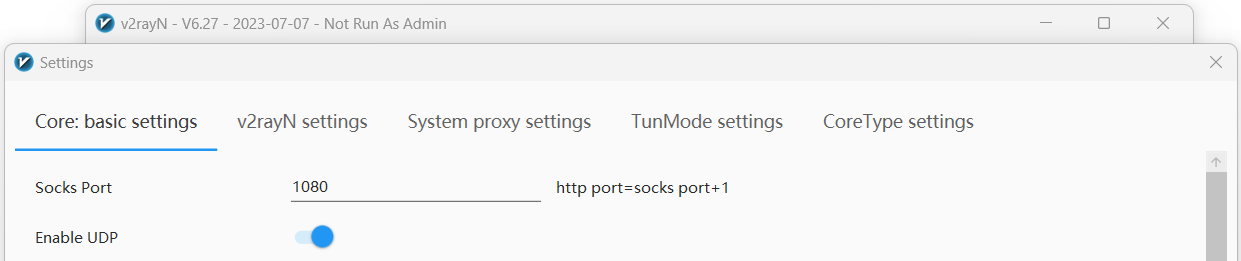
- In the V2rayN app, click on Setting followed by OptionSetting and set the SOCKS port to 1080
- Go to the Mullvad app settings > Split tunneling and click on the button “Find another app” in the bottom. Browse to the location of the v2rayN app (in the Downloads folder) and in the bin folder select xray and then Xray.exe and click on Add.
-
Open the Command Prompt and run the following commands: (On other xtls servers you will need to replace <bridge IP> )
mullvad bridge set custom set socks5 local 1080 <bridge IP> 443

mullvad relay set tunnel-protocol openvpn

mullvad bridge set state on

mullvad connect
Using Android
Requirements
Download and install:
- v2rayNG
- OpenVPN for Android (not OpenVPN Connect which is a different app)
Configure the v2rayNG app
- Tap on the ☰ menu icon, then Settings.
- Make sure that the SOCKS5 proxy port is set to 1080.
- Change Mode to Proxy only.
- Tap on your device's back button.
- Copy the url encoded config (VLESS link).
- Tap on the plus icon on the tool bar and select Import config from Clipboard.
Configure the OpenVPN app
- Download an OpenVPN configuration file for Android and make sure that Connect via bridges is checked.
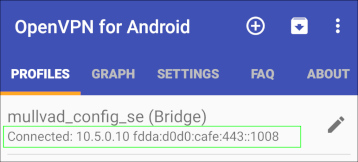
- Open the OpenVPN for Android app.
- Tap on the + icon and tap on import and then choose the OpenVPN configuration file that you downloaded before.
- Tap on the pen edit icon next to the profile you imported.
- In the top bar, scroll left and tap on Advanced. Then scroll down and tap on Custom Options.
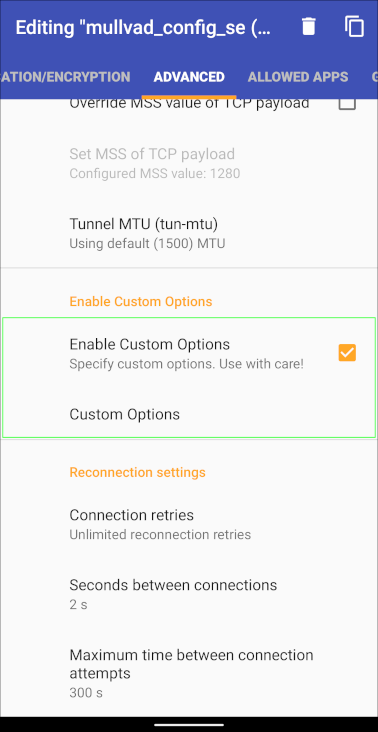
- On a new line add:
socks-proxy 127.0.0.1 1080 - Tap on OK. Then in the top bar tap on Allowed apps.
- Make sure that VPN is used for all apps but exclude selected is enabled.
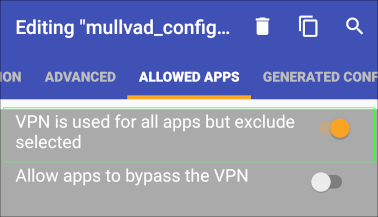
- Scroll down the list and find v2rayNG and tap on the square icon to enable it.
- Tap on your device's back button.
Connect using v2rayNG
- Tap on the newly added server and click on the V icon.
- In the OpenVPN app, tap on the server profile to connect to it. The first time you connect to a profile, you will be asked for a username and password. Use the following:
username – use your Mullvad account number (without any spaces)
password – use the letter m - In the log window it should say "Initialization Sequence Completed" in the bottom.
- Tap on the arrow button in the top left corner.
- Both apps should now say "Connected".
- Verify your connection with our Connection check. Note that it will only show the OpenVPN exit server, not the v2ray server.
Using macOS
Requirements
Configure Tunnelblick
- Visit our OpenVPN configuration file generator
- Select a country and (if available) a city
- Click on Advanced and enable Connect via bridges
- Click on Download zip archive
- Double-click on the Zip file to extract it
- Right click on the Mullvad.tblk file and choose Show Package Contents
- Open the OpenVPN configuration file (mullvad_xx_xx.conf) with TextEdit
- Add the line
route <bridge IP> 255.255.255.255 net_gateway
Replace<bridge IP>with the IP-address of the bridge you want to connect to - Save and close the file in TextEdit
- Double-click on the Mullvad.tblk file to open it with Tunnelblick, and install it
Configure v2rayxs
- Run v2rayxs
- Click on the v2rayxs icon and select configure...
- Set
Local Socks5 Port:to1080 - Click Import… and select Import from VLESS share links...
- Paste your url encoded config (VLESS link) and click OK
- In the left side list of servers, click on the new one you just imported
- Click transport settings…
- Select the TLS tab
- Edit the following settings
SetserverNametowww.yahoo.com
SetshortIdtob4
Setfingerprinttochrome
SetpublicKeytoecMgkqS6wkB5TxS7-sT8sIQnhVmiJlQPDC94XT-L4k8
Scroll down in the settings view to see thepublicKeysetting - Click OK
Connect
- Click on the v2rayxs icon and select Load core
- Click on the Tunnelblick icon and select Connect Mullvad
Using Linux
Tested with
- Ubuntu 22.04 / Debian 12
- NekoRay 3.26
- Download and install the latest NekoRay release
- Set the folder permission:
sudo chown -R user:user /opt/nekoray/(replace "user" with your username) - Start NekoRay with split tunneling:
mullvad-exclude /opt/nekoray/nekoray - In the First time setup window, click Xray
- Copy each url encoded config (VLESS link) from below, and paste it (Ctrl+V) into the NekoRay window
- Go to Preferences and select Basic Settings
- In the Common tab, set Socks Listen Port to 1080 and click OK
- Click the Program button, go to Active Server and select one of your newly added servers
- In a new Terminal tab/window, run the following commands, one at a time; and replace
<bridge IP>with the IP in the vless link
mullvad bridge set custom set socks5 local 1080 <bridge IP> 443

mullvad relay set tunnel-protocol openvpn

mullvad bridge set state on

mullvad connect
10. In the Mullvad app you should now see SECURE CONNECTION
If you need to restart NekoRay, click on the Program button and select Exit.
Other bridge servers
Remember to also replace the IP-address in the ovpn configuration file or the "mullvad bridge" command.