Install Mullvad app on Windows
Mullvad app Windows Installation Desktop
آخرین بهروزرسانی:
This guide explains how to install and uninstall the Mullvad VPN app for Windows.
What this guide covers
- Installation requirements
- Install and start the Mullvad VPN app
- Unhide the Mullvad tray icon (Windows 11)
- (Optional) Disable Location in Windows
- Update the app
- Uninstall the app
- Troubleshooting
- Alternative installation method
Installation requirements
Windows 10 (64-bit/ARM) or newer.
Install and start the Mullvad VPN app
This applies to the Mullvad VPN loader. For the classical installer, see Alternative installation method.
-
Download the latest version from the Download page on our website.
-
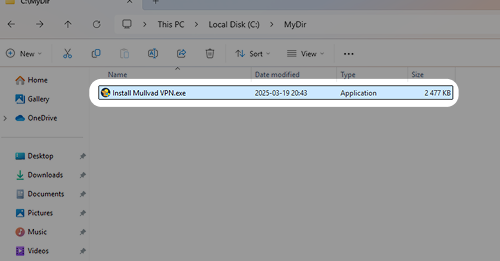
Navigate to the folder where the file "Install Mullvad VPN.exe" is and double-click it.
-
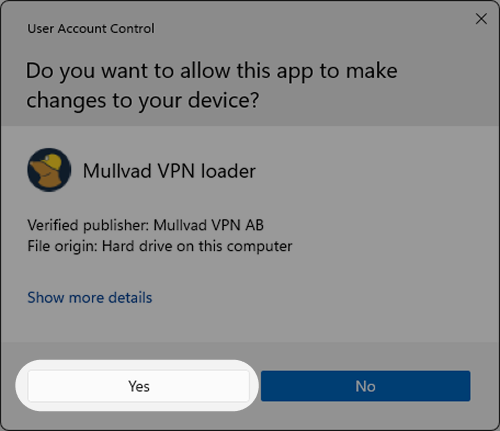
If you see a warning about allowing changes to your device, click Yes.
-
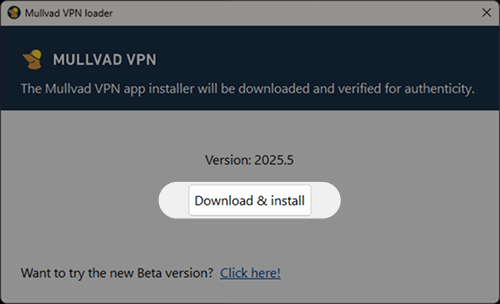
Click the Download & install button in the opened window. This will download and verify the Mullvad VPN app.
-
When the installation is complete, click on Finish to start the Mullvad VPN app.

Read more about how to use the Mullvad app in the guide Using the Mullvad VPN app.
Unhide the Mullvad tray icon (Windows 11)
To keep the Mullvad padlock icon visible in the Windows taskbar tray (near the clock), follow these steps:
- Click on the Up arrow in the system tray (or use the Windows key + b keyboard shortcut).
- Click-and-drag the Mullvad padlock icon down to the tray (on the right side of the Up arrow).
![]()
Alternatively:
- Right-click on the taskbar and select Taskbar settings.
- Click on Other system tray icons to show the hidden icons.
- Find the Mullvad VPN icon in the list and turn it on.
(Optional) Disable Location in Windows
To prevent apps from requesting your location using Wi-Fi or GPS you can turn off Location.
Windows 10:
- Open the Settings app.
- Click on Privacy.
- Click on Location in the left side.
- If it says "Location for this device is on", then click on Change and turn it off.
Windows 11:
- Open the Settings app.
- Click on Privacy & security in the left side.
- Click on Location.
- Turn off Let apps access your location.
- If you want you can turn off Location services, however note that "Find my device" etc will be unavailable (as Windows will warn you).
Update the app
For instructions about updating the app, see Using the Mullvad VPN app.
Uninstall the app
To uninstall the app from your computer, you'll need to access the Windows settings.
Windows 11
- Attention! Make sure that you have written down your Mullvad account number (if you have time left).
- Click on the Windows Start button.
- Click on the Settings icon in the left column. Click on Apps and then go to Installed apps.
- In the list of programs that appears, find Mullvad VPN and click on the "…" to the right of it.
- Click on the Uninstall button and confirm that you want to uninstall the app.
- Windows will proceed to uninstall the Mullvad VPN app and erase its local log files and cache. You'll also have the option to remove your settings.
- Click on OK once it's complete.
Windows 10
- Attention! Make sure that you have written down your Mullvad account number (if you have time left).
- Click on the Windows Start button.
- Click on the Settings icon in the left column, click on Apps.
- In the list of programs that appears, find Mullvad VPN and click on it to select it.
- Click on the Uninstall button and confirm that you want to uninstall the app.
- Windows will proceed to uninstall the Mullvad VPN app and erase its local log files and cache. You'll also have the option to remove your settings.
- Click on OK once it's complete.
Troubleshooting
If you have a third-party anti-virus, it could interfere with the Mullvad installer. Try to disable it while you install Mullvad.
Contents:
- Internet is blocked. Error: "Mullvad VPN cannot be closed".
- Error: "Failed to load version details"
- Error: "Download failed"
- Error: "Failed to verify download"
- Error: "Failed to uninstall a previous version"
- Failed to start the app
Internet is blocked. Error: "Mullvad VPN cannot be closed".
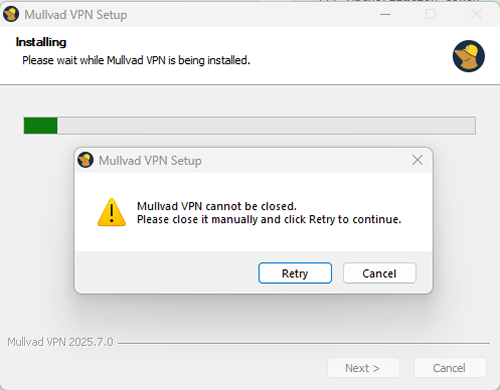
The installer can fail to update the app and blocks the Internet if the app fails to close properly during the installation. If this happens, do not close the Mullvad VPN client in Task Manager. Closing it can cause the Internet to remain blocked. Instead you can try these two options:
Using the loader
Run the loader again and if the installer was downloaded you can start the installer from here.
Using the downloaded installer
- Locate the installer. It should be located in one of the following folders (depending on which version you have of the loader):
C:\ProgramData\Mullvad VPN\cacheC:\Users\USERNAME\AppData\Local\Temp\mullvad-updates - Double-click the installer to open it.
- Follow the instructions for installing the update.
- Your app is now updated!
Internet is still blocked
If the Internet is still blocked after following the steps provided above under Error: "Mullvad VPN cannot be closed" and the app cannot be installed, you can try these options in order:
Restarting your computer
If Lockdown mode and/or Auto-connect were not enabled when trying to install the update you can reset the Mullvad firewall configurations by restarting your computer.
Using another device
You can use another device to re-install the app.
- On a different device, download the alternative installer from the Downloads page on our website, underneath the "Alternative installation" title. Not the loader! This is also available on our GitHub.
- Save the downloaded installer to a USB stick or other physical media.
- Transfer the installer to the PC that has Internet blocked.
- Start the installer by double-clicking it on the affected PC and follow the instructions to install the app.
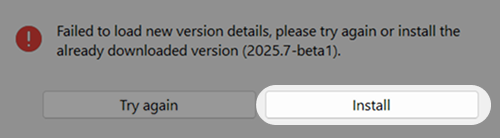
Error: "Failed to load version details"
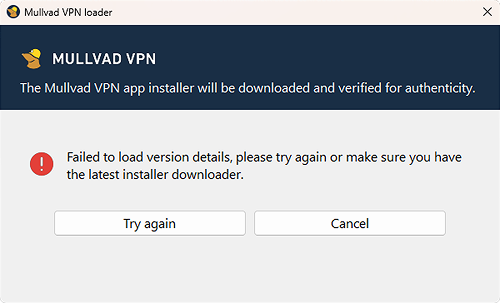
This usually happens because of network issues or trying to use an outdated version of the loader. If you have this problem then try the following:
- Click Try again.
- Restart the Mullvad VPN loader.
- Download a newer version of the loader from our website.
If none of these steps work, you can download the standalone installer by following these steps.
Error: "Download failed"
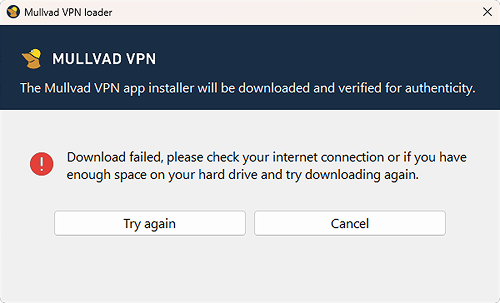
An error occurred during download, which could be due to network issues or not enough space on the hard drive. If you have this problem then try the following:
- Click Try again.
- Check if there is enough space on your hard drive, otherwise free up some space.
- Restart the Mullvad VPN loader.
If none of these steps work, you can download the standalone installer by following these steps.
Error: "Failed to verify download"
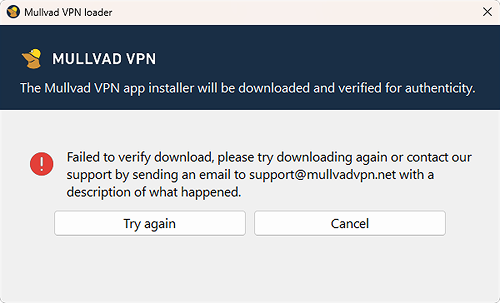
An error occurred during verification, this can happen because the file was corrupted during download. If you have this problem then try the following:
- Click Try again.
- Restart the Mullvad VPN loader.
If none of these steps work, please send an email to our support support@mullvadvpn.net with a description of what happened. You can also download the standalone installer by following these steps.
Error: "Failed to uninstall a previous version"
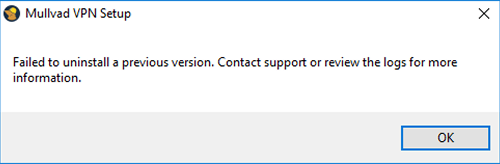
- Try to restart the computer and then install Mullvad VPN again.
- Third-party anti-virus software may also conflict with the installation process. Try uninstalling or disabling such software.
If it doesn't help then delete these two folders and then install Mullvad VPN: C:\ProgramData\Mullvad VPN C:\Program Files\Mullvad VPN
If you are unable to delete the folder in Program Files then open the Task Manager and end all Mullvad tasks. Then delete it.
Failed to start the app
After you start the Mullvad VPN app in Windows, it says:
Failed to start the app, please try again or click "Details" for more info
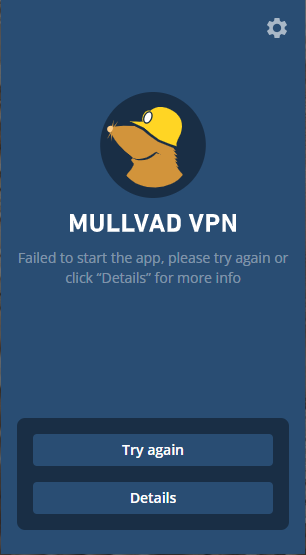
This means that the Mullvad VPN Service has not been able to start. Try to click on Try again.
If you are using a third party anti-virus or CCleaner then it may be that which stops the Mullvad service.
If it does not help to disable that then do the following:
- Uninstall any of the following apps that you may have installed:
Mozilla VPN
Amnezia VPN
Urban VPN
Radmin
Hamachi
Any third party anti-virus
Any third party firewall - If you uninstalled Mozilla VPN, then also open the Windows Defender Firewall > Advanced Settings and remove any inbound/outbound rules mentioning Mozilla VPN.
- Click on Try again in the Mullvad app, or restart the computer.
Alternative installation method
If you are unable to download or use the Mullvad VPN loader, then you can download the Mullvad VPN installer directly.
- On the Downloads page, scroll down to "Alternative installation" and click on Download installer.
- Open the folder that you downloaded the installer to and double-click on MullvadVPN-xxxx.x.exe ("xxxx.x" is the version number).
- If you get a warning about allowing changes to your device, click Yes.
The Mullvad VPN installer is also available for download on GitHub. Download it there if you are unable to access our website.