Install app on macOS
Mullvad app Installation macOS Desktop
Senast uppdaterad:
This guide explains how to install and uninstall the Mullvad VPN app for macOS.
What this guide covers
- Installation requirements
- Install and start the Mullvad VPN app
- Disable Location Services in macOS
- Alternative installation method
- Update the app
- Uninstall the app
- Troubleshooting
- Mullvad VPN loader error messages
- Error: "The installation failed"
- Prevent other apps from setting the DNS
- Connecting to Mullvad system service
- The Mullvad padlock icon does not show
- Unable to use the Internet after disconnecting Mullvad
Installation requirements
macOS Sonoma (14) or newer.
Install and start the Mullvad VPN app
This applies to the Mullvad VPN loader. For the classical installer, see Alternative installation method.
-
Download the latest version from the Download page on our website.
-
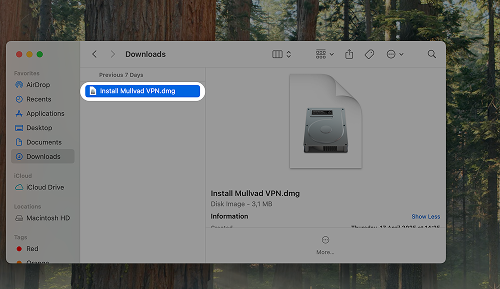
Navigate to the folder where the "Install Mullvad VPN" .dmg file is located and open it by double-clicking.
-
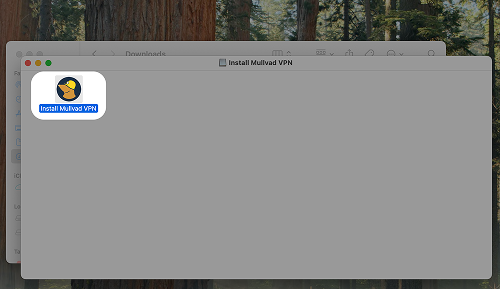
Double-click on "Install Mullvad VPN" in the opened window. This will open the Mullvad VPN loader.
-
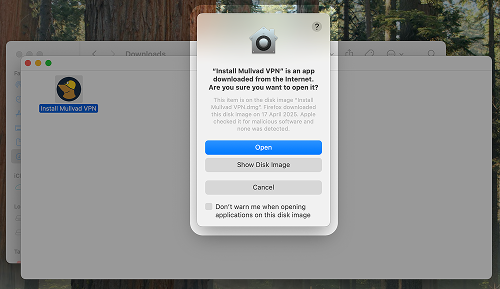
If you see a message that asks if you want to open it, click Open.
-
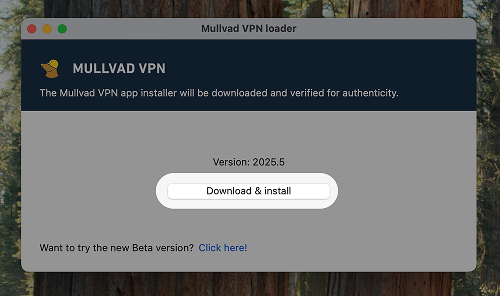
Click the Download & install button in the opened window. This will download and verify the Mullvad VPN app.
-
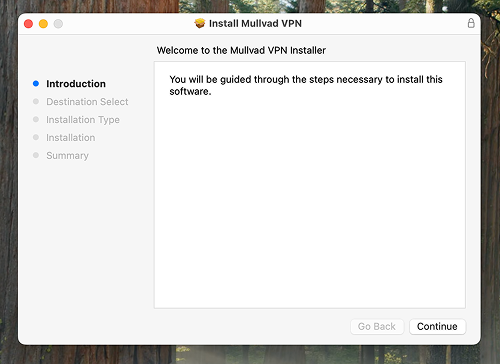
After verification the Mullvad VPN setup wizard will open, follow the instructions and complete the installation.
-
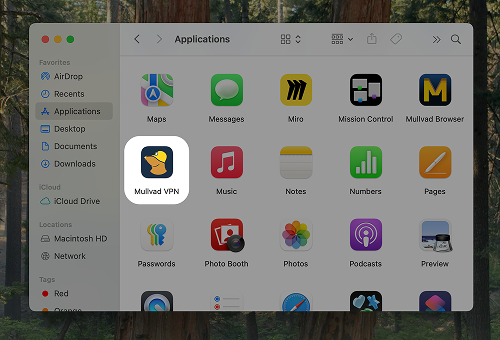
Mullvad VPN is now installed! To launch the app, double-click the "Mullvad VPN" icon in the Applications folder.
-
You should see a notification that says:
"Background Items Added - "Mullvad VPN" added items that can run in the background. You can manage this in Login Items Settings".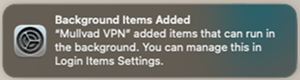
-
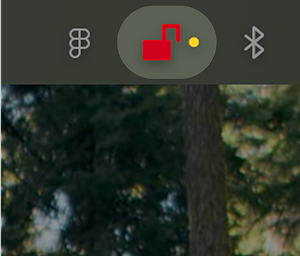
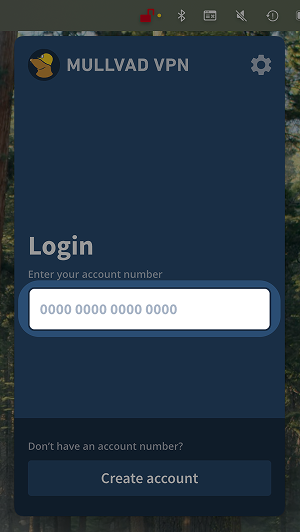
You will also see a red padlock icon in the menu bar. Click on the padlock to display the app's login screen.
-
Enter your Mullvad VPN account number and then press "Enter".
Read more about how to use the Mullvad app in the guide Using the Mullvad VPN app.
Disable Location Services in macOS
To prevent apps from requesting your location using Wi-Fi or GPS you can turn off Location Services.
-
Open the System Settings app.
-
Click on Privacy & Security in the left column.
-
Click on Location Services.
-
Turn off Location Services with the option button.
Alternative installation method
-
Download the alternative installation method from our Download page on the website, underneath the "Alternative installation" title.
-
Open the folder that you downloaded the installer to and double-click on MullvadVPN-xxxx.x.pkg ("xxxx.x" is the version number).
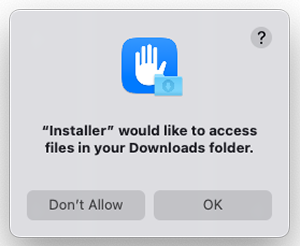
-
If you get a message that says "Installer would like to access files in your Downloads folder" then click on OK.
Update the app
For instructions about updating the app, see Using the Mullvad VPN app.
Uninstall the app
To uninstall the Mullvad app and also remove the local log files, cache, and settings do one of the following options.
Uninstall from Applications folder
-
Make sure that you have written down your Mullvad account number.
-
Open the macOS Applications folder.
-
Find the Mullvad VPN app and drag it to the trash.
-
Right-click on the trash bin and select “Empty Bin”.
Uninstall from the Terminal
-
Make sure that you have written down your Mullvad account number.
-
Open the Terminal app and run the following command:
/Applications/Mullvad\ VPN.app/Contents/Resources/uninstall.sh -
If it asks for a password then use your login password (it will not show the password as you type it).
-
Restart the Mac.
Troubleshooting
Mullvad VPN loader error messages
Error: "Failed to load version details"
This usually happens because of network issues or trying to use an outdated version of the loader. If you have this problem then try the following:
-
Click Try again.
-
Restart the Mullvad VPN loader.
-
Download a newer version of the loader from our website.
If none of these steps work, you can download the standalone installer by following these steps.
Error: "Download failed"

An error occurred during download, which could be due to network issues or not enough space on the hard drive. If you have this problem then try the following:
-
Click Try again.
-
Check if there is enough space on your hard drive, otherwise free up some space.
-
Restart the Mullvad VPN loader.
If none of these steps work, you can download the standalone installer by following these steps.
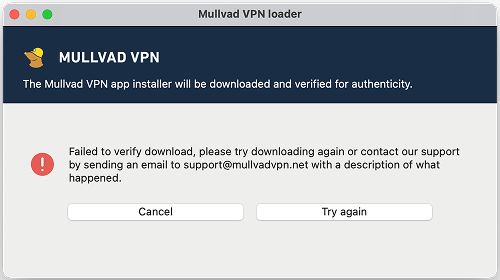
Error: "Failed to verify download"

An error occurred during verification, this can happen because the file was corrupted during download. If you have this problem then try the following:
-
Click Try again.
-
Restart the Mullvad VPN loader.
If none of these steps work, please send an email to our support support@mullvadvpn.net with a description of what happened. You can also download the standalone installer by following these steps.
Error: "The installation failed"
An error can occur during installation if the installer does not have access to the folder which you downloaded Mullvad to. This can also happen if you are using Dropbox or Avast Security. If you have this problem then follow these steps:
-
Open the System Settings app and click on Privacy & Security in the left side.
-
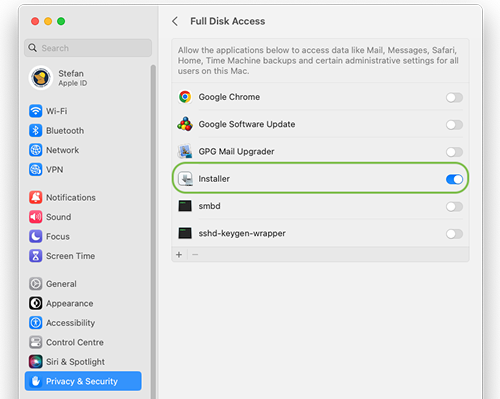
Click on Full Disk Access.
-
In the list you should see Installer. Click on the button to enable full disk access. If you do not see "Installer" then click on the + icon in the bottom left corner. Click on Applications in the left column and then select Macintosh HD in the location drop-down menu in the top. After that select System > Library > CoreServices > Installer.
-
Start the Mullvad installer again. Now it should work.
-
After the installation is done go back to the System Settings app and turn off full disk access for Installer again.
Prevent other apps from setting the DNS
The Mullvad app needs to set the system DNS to prevent DNS leaks. If there is a conflicting app that also sets the DNS then Mullvad will block the Internet and show the message Unable to set system DNS server. If this happens try the following.
-
Turn off "Calls from iPhone" in the FaceTime app preferences, and restart the computer.
-
Uninstall any app that sets the DNS or blocks connections, for example the following:
- Little Snitch
- Lulu
- Tailscale
- TripMode
- Cloudflare Warp
- Adguard
- NextDNS
- Freedom.to
- Ubiquiti software
- T-Mobile DIGITS
-
Go to the Mullvad app settings > VPN settings and enable Enable IPv6. If it's already on then try to turn it off instead.
-
Disable IPv6 on your Mac by opening the Terminal app and, depending on which network type you use, enter one of the following commands:
sudo networksetup -setv6off Ethernetsudo networksetup -setv6off Wi-FiIn case you need to restore IPv6 connectivity again use one of these commands:
sudo networksetup -setv6automatic Ethernetsudo networksetup -setv6automatic Wi-Fi
Connecting to Mullvad system service
When you click on the red padlock icon in the macOS menu bar the Mullvad app may show this:
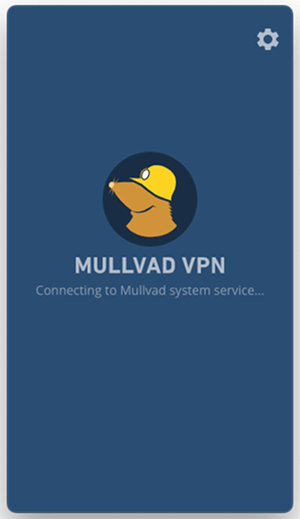
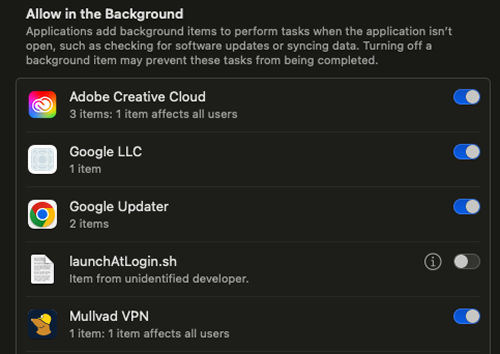
To fix this open the System Settings app and go to General > Login items. Under "Allow in the Background" you should find Mullvad VPN. Make sure that is enabled.
If it doesn't help then open the Terminal app and run this command:
sudo launchctl load /Library/LaunchDaemons/net.mullvad.daemon.plist
If it asks for a password then use your Mac login password (it will not show the password as you type it).
The Mullvad padlock icon does not show
If you are using a MacBook with a camera notch then the menu bar icons will get hidden if you have too many icons. In this case you would have to quit other apps which has an icon on the menu bar, or disable some system icons. Keep in mind that menu bar icons can only occupy the space from the right corner to the notch in the middle.
Unable to use the Internet after disconnecting Mullvad
Lockdown mode
Go to the Mullvad app settings > VPN settings and make sure that Lockdown mode is turned off.
DNS
Test the connection using the following commands in the Terminal app:
ping 8.8.8.8

ping www.google.com

nslookup www.google.com
If you are able to ping 8.8.8.8 but not ping www.google.com then it's a DNS problem.
Try to turn off and on your Wi-Fi, or unplug and plug in your network cable.
Make sure you have a DNS set in macOS:
-
- Open the macOS System Settings.
- Click on Network and then click on the connected network.
- Click on Details... > DNS.
- Click on the plus button and add a new DNS server like for example 1.1.1.1.
- Click on OK.
Kill switch
Try to remove the Kill switch and Lockdown mode firewall rules. Use the following commands in the Terminal app:
sudo pfctl -d

sudo pfctl -f /etc/pf.conf
When it asks for a password, enter your Mac login password.
Reinstall Mullvad
Download the alternative/standalone installer, then uninstall Mullvad with the uninstall script in the Terminal, and answer "yes" to delete all settings. Then install Mullvad again.